
 Español











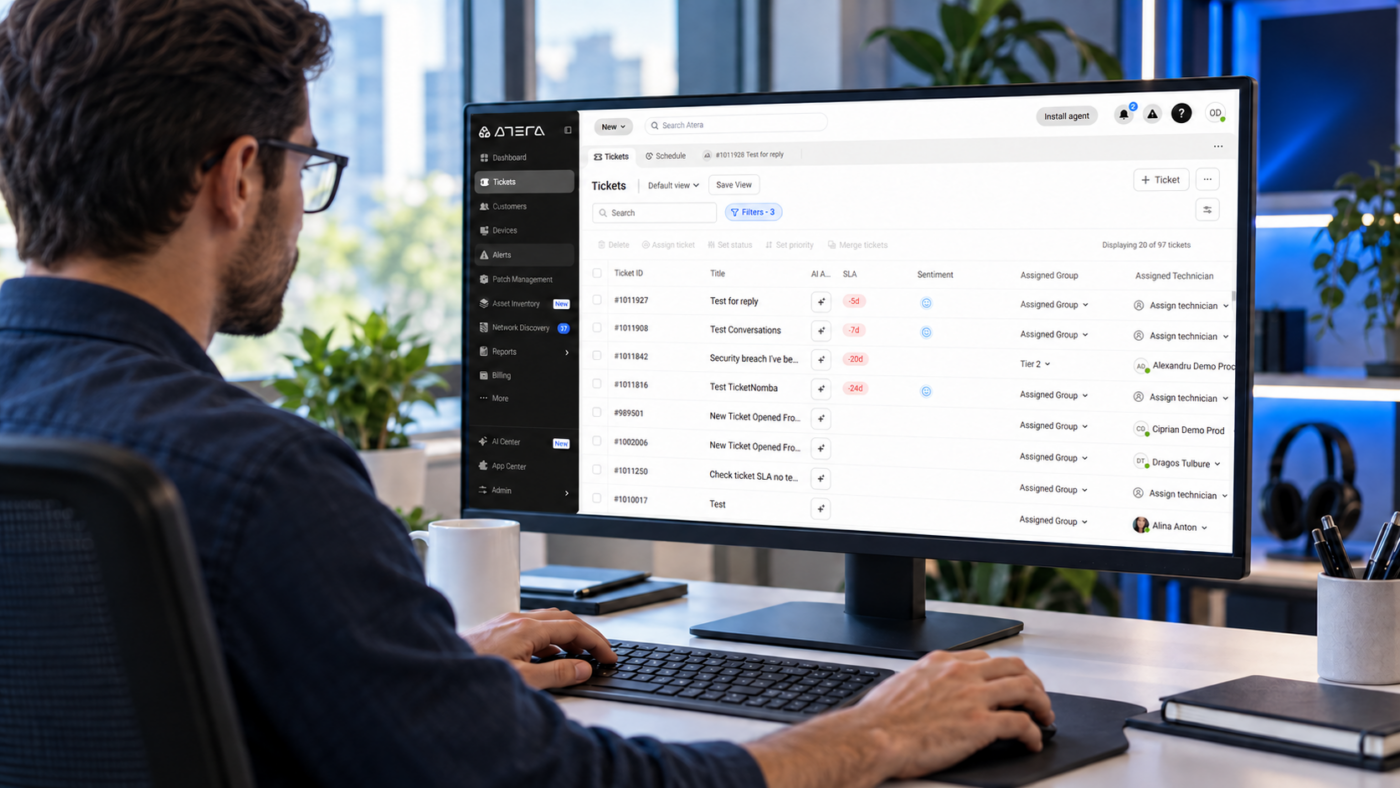
Does your IT team open its help desk only to find a long list of requests, priorities, and assigned technicians? When every ticket is displayed in the same way, identifying what needs immediate attention can take more time than necessary.
The good news is that you can customize your Atera ticket view to match your operational needs. This allows each technician to find relevant information more quickly and stay focused on the cases that truly require attention.
1. Choose the Table Density
Atera provides two display options. The detailed view shows more information about each ticket, while the compact view allows technicians to see more requests on a single screen.
For example, an IT manager may use the compact view to monitor the overall workload. Meanwhile, a technician may prefer the detailed view to understand each case more thoroughly.
2. Display Only the Most Important Columns
Not every team needs to review the same information. Therefore, Atera allows users to show or hide columns such as:
- Priority
- Status
- Assigned technician or group
- Customer or user
- SLA
- Related device
- Creation date
- Last action date
As a result, your Atera ticket view can display relevant information while removing elements that may distract your team.
3. Organize Information Around Your Workflow
You can also change the order of your columns. Simply drag and position the information your team uses most frequently at the beginning of the table.
If meeting service levels is your main priority, place the SLA column first. However, if you manage technician workloads, it may be more useful to highlight the assigned technician, ticket status, and priority.
4. Use Filters to Find Tickets Faster
Filters reduce the number of tickets displayed and show only requests that meet specific criteria. For instance, you can create a view for critical tickets, unassigned requests, pending cases, or tickets from a particular customer.
This feature makes daily supervision easier and helps identify situations that could otherwise go unnoticed in a busy support queue.
5. Save Private or Public Views
After configuring the density, columns, order, sorting, and filters, you can save your selection as a reusable view.
Private views help technicians organize their individual work. Public views, on the other hand, allow the entire team to use the same configuration and follow consistent criteria.
According to Atera’s official documentation, saved views retain the table density, selected columns, column order, sorting, and filters.
Turn Customization Into Better IT Operations
Customizing your Atera ticket view is more than a visual change. A configuration aligned with your support process can make prioritization easier, increase visibility, and help your team maintain more organized follow-up.
However, achieving better results also requires correctly defining responsibilities, priorities, SLAs, filters, and workflow rules.
At Nubetia, we can help you select the right Atera license and configure the platform according to your company’s requirements. In addition, our managed services can support your IT team with monitoring, specialized assistance, and practices designed to improve technology operations. Learn more about our managed solutions.
Would you like to see how Atera could work for your company? Schedule a demonstration with Nubetia and start building a more organized IT support operation. You can schedule a consultation call here.
Referencias:
Atera Networks. (s. f.). Tickets overview. Atera Support. https://support.atera.com/hc/en-us/articles/9258656888732-Tickets-overview
