
 Español


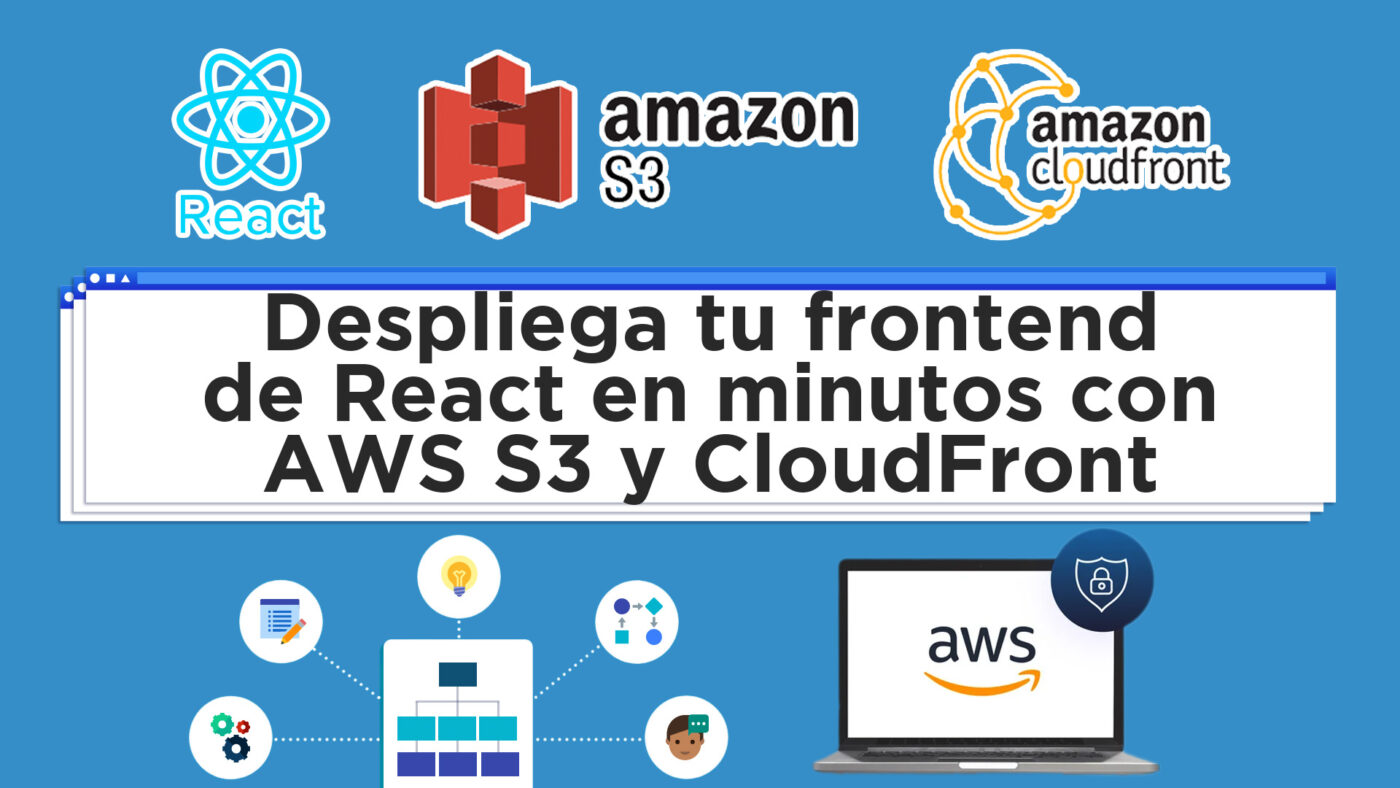
This tutorial will guide you through the steps to set up your React frontend on Amazon S3 and distribute it with Amazon CloudFront.
Step 1: Prepare your React project
Make sure your React project is production-ready by running the following command in the terminal:
yarn buildThis will create a build folder in your project containing the static files of your application.
Step 2: Create a Bucket in Amazon S3
- Log in to the AWS Management Console and navigate to the Amazon S3 service.
- Click on “Create bucket”.
- Provide a unique name for your bucket. Remember this name must be globally unique.
- Disable the “Block all public access” option and accept the warning about making your bucket public.
- Leave the other settings at their default values and click “Create bucket”.
Step 3: Configure the Bucket to host a website
- In your new bucket, go to the “Properties” tab.
- Find the “Static website hosting” section and click “Edit”.
- Select “Enable” and then specify the entry file name of your application, usually
index.html. - In “Error document”, also enter
index.html. - Save the changes.
This configuration ensures that if S3 encounters an error trying to access a specific path that does not correspond to a physical file, it will always serve the index.html file. This allows React Router to correctly handle all the application routes, even those that do not correspond to physical files in the S3 bucket.
Step 4: Upload your project files
- Go to the “Objects” tab of your bucket.
- Click “Upload” and then drag and drop the files and folders from your React project’s
buildfolder. - Complete the upload process.
Step 5: Make the Bucket content public
- Go to the “Permissions” tab of the bucket.
- Edit the bucket policy by adding a policy that allows public access to the files. Here is an example policy:
{
  "Version": "2012-10-17",
  "Statement": [{
    "Sid": "PublicReadGetObject",
    "Effect": "Allow",
    "Principal": "*",
    "Action": "s3:GetObject",
    "Resource": "arn:aws:s3:::your-bucket-name/*"
  }]
}- Replace
your-bucket-namewith your bucket’s name. - Save the changes.
Step 6: Create a CloudFront distribution
- Go to the Amazon CloudFront service.
- Click “Create distribution”.
- In the “Origin settings” section, select the S3 bucket you created as the origin.
- Leave the default settings or adjust them according to your specific needs (for example, SSL/TLS configurations).
- Click “Create distribution”.
Step 7: Configure the domain (optional)
If you have a custom domain you want to use, you can configure CloudFront to use that domain and update your domain provider’s DNS records to point to the domain provided by CloudFront.