
 Español


- First of all, we need to make sure that Virtual Box for Mac is installed, which you can download at the following link: https://www.virtualbox.org/wiki/Downloads
- Go to the following link: https://www.offensive-security.com/kali-linux-vm-vmware-virtualbox-image-download/#1572305786534-030ce714-cc3b
- Download Kali Linux for Virtual Box; I select the 64-bit version because that corresponds to my machine.
- Once downloaded, open the file and click on import.
- It is now installed, now we just need to configure it.
- To do that, select the virtual machine and click on “Settings.”
- Now go to the “NETWORK” tab. It is very important to make sure this Kali Linux OS is COMPLETELY isolated or separated from my Mac machine as a preventive measure to avoid any issues or infecting my Mac computer.
- To achieve this, in “NETWORK,” where it says default adapter, the option “NAT” is selected, which we must change to “NAT NETWORK.” This will make my Mac act as a router and my virtual machine will be a client of my router, just like all other virtual machines installed on my Mac. This means that if I create another virtual machine, it will be on the same network as the first virtual machine, completely isolated from my Mac. VirtualBox recognizes them as connected to Ethernet.
- The next step is just below the “connected to NAT network” selection where it says “name,” which by default will have nothing selected. This is a very common mistake that I made on purpose so we don’t forget. So, let’s close this tab and go to the VirtualBox File section, click on preferences, then in the NETWORK section, and here we will see that we do not have any NAT NETWORK created.
- Click on the green + icon, then click accept.
- Go back again to the configuration of our virtual machine, return to the network section, and we will see that the NAT network name now appears, configured without any problems.
- Click accept and we will be ready to work in KALI Linux.
- The default username is “kali” and the password is also “kali.”
- Enjoy.
Cybersecurity - News
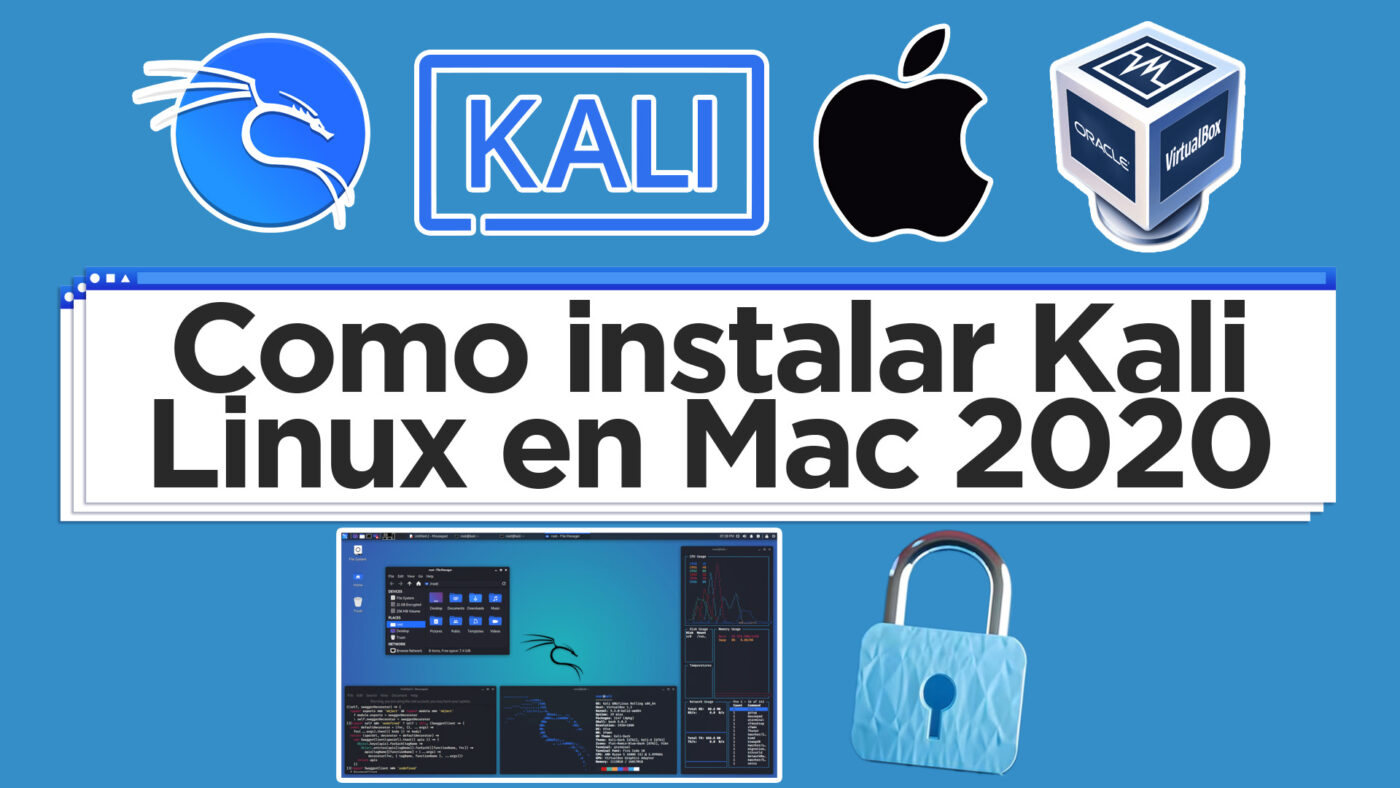
How to Install Kali Linux on Mac 2020
23
May
May