
 Español


When we create an application, we can host everything on a single server. However, if the application grows, we will need to give it more power by adding more machines. This means the cost will keep rising without stopping. Likewise, if the application starts losing popularity, we will have to reduce the power we gave it while it was growing. This is where the term scalability comes into play.
There is a much more economical and effective solution to this problem called RESTful app or RESTful technology.
With this technology, you will only be charged for the time the functions are used on the machines.
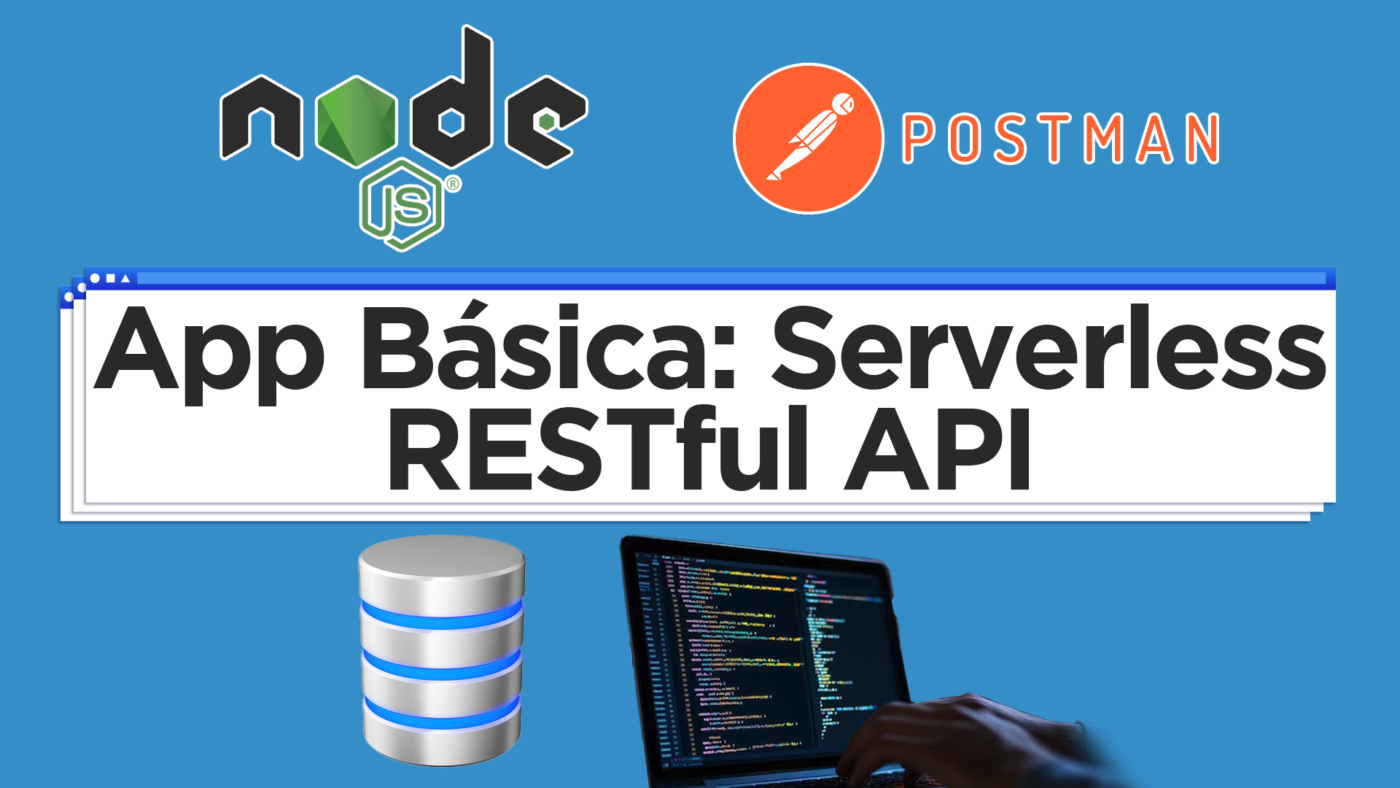
I will explain with a very basic example how these RESTful applications work. Let’s create an application that lists your employees or work team.
For this application, we will use technologies such as:
- Firebase functions: Has a free version that works well to launch products where it is unknown if there will be interest.
- Nodejs: To build functions.
- RESTful: we will build a RESTful API with verbs like get, post, delete, patch, put.
- Express:
- MongoDB (Atlas or mLab)
#1
The main tool to use is NODEJS, so we have to download it from its website. Once you download it, run the following command to check if it is installed correctly:
node -v#2
Next, we will install YARN.
Yarn is a library that helps us manage all the dependencies of the projects we are building. It is a faster alternative to NPM and is also maintained by Facebook, just like React. To install it, go to its website. Once downloaded, run the following command to make sure you installed it correctly:
yarn --version#3
Install a code editor such as “V Code”.
#4
To install the Firebase tools that will allow us to run a local server, we need to install Firebase Tools by running the following:
yarn global add firebase-toolsThis will help us emulate servers. Think of it as being in the Firebase cloud but actually running on your computer. It is very useful for quickly migrating to Google’s cloud “Firebase” without having to upload functions every time we want to test the app.
#5
Now we will need to install the POSTMAN tool, which we will use to test our REST API. We will be able to make requests directly to our API.
#6
Then we will create a database in MLAB. MLAB provides cloud database services. It lets you store up to 0.5 megabytes. This way, we won’t have to install any server or mongoose; we simply connect to the URL provided by mLab.
The first step is to create a database by clicking the “Create New” button. It will ask which cloud provider you want (Google, Amazon, Azure). Firebase belongs to Google, so we will select Google. Then select the provider, then the database name, and click continue.
To connect, we will have to create a database user. In users, add a user to the database.
It will give you a code to paste in your application so your app can connect to the database you just created.
#7
The next step is to create an application so we can upload our REST API. For that, go to console.firebase.google.com.
Click add project, enter the project name, and accept the terms and conditions. It will take a little while to create, but no more than 10 minutes.
#8
Now we will create our application on our computer. For that, create a folder named after your project. Inside that folder, run the following command:
firebase initSelect functions and hosting. Then select your project. Then choose JavaScript. Then, if you want to use ESLint to catch errors, say yes.
Next, when asked if you want to use npm, say no because we are using yarn.
Press enter when asked what you want to use as the public directory.
Next, install the dependencies using YARN by running:
yarnOnce installed, you will see a folder called node_modules created with all the dependencies successfully installed.
#9
Now we will install 2 more dependencies, EXPRESS as the framework to create endpoints and build our REST API, and also install mongoose to store all the data of our application.
To install those dependencies, run the following:
yarn express mongoose#10
Now go back into the functions folder of our project and open the “package.json” file. Inside, you will see the scripts we need to start developing.
The first script to use is “serve,” which is used to run our server. Run it in the terminal with this command:
yarn serve#11
Now open the index.js file and you will see some commented instructions showing what needs to be done to start developing.
It is important to know that to execute a function, we have to do it with the reserved word “EXPORTS”:
If you remove the comment slashes, you will see that the server will recognize the “helloWorld” function in the terminal.
#12